After a hailstorm rolls through, it can be hard to know whether your roof took a serious hit or just a few minor dings. Understanding hail damage roof repair is one of the most important things you can do as a homeowner — catching problems early can save you thousands in repairs down the road. This guide walks you through everything you need to know, from spotting the signs to navigating the insurance process and choosing the right contractor.
Here’s what we’ll cover:
- Signs of hail damage: What to look for on shingles, gutters, and flashing
- Step-by-step repair process: What happens from inspection to final fix
- Insurance claims: How to document and file successfully
- Repair vs. replacement: How to decide which route to take
- Choosing a contractor: Red flags to avoid and qualities to look for

How Hail Damages Your Roof
Hailstones might look harmless once they melt, but the impact they leave behind tells a different story. Montana’s storm season can bring hail ranging from pea-sized pellets to golf ball-sized chunks, each capable of causing a different level of roofing damage.
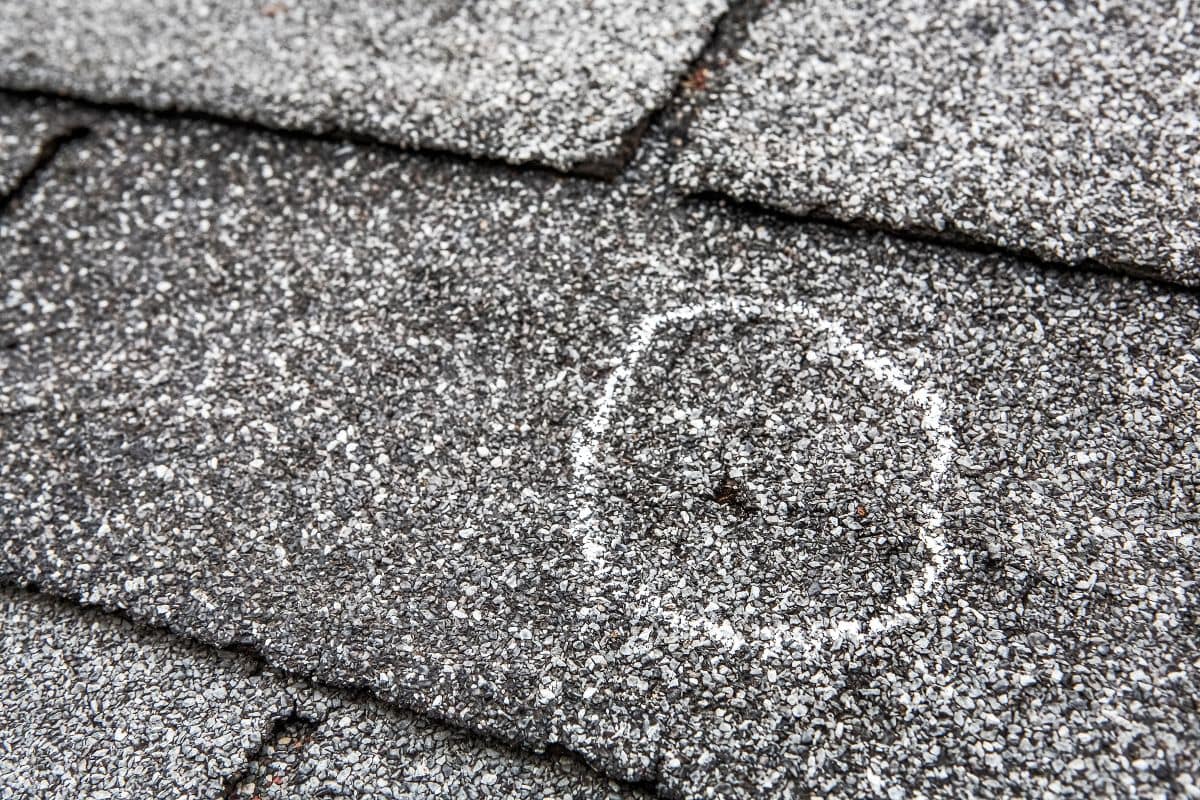
When hail strikes asphalt shingles, it knocks off the protective granule coating, exposing the underlayer to UV rays and moisture. Over time, those exposed spots become the entry points for leaks. Metal roofs may dent but rarely lose structural integrity, while wood shakes can split or crack under impact. Flat roofing systems are especially vulnerable to bruising and membrane punctures.
What Hail Does to Different Roofing Materials
| Roofing Material | Common Hail Damage | Risk Level |
| Asphalt Shingles | Granule loss, bruising, cracking | High |
| Wood Shakes | Splitting, fractures, broken edges | High |
| Metal Roofing | Denting, cosmetic damage | Low to Medium |
| Flat / TPO Membrane | Bruising, punctures | Medium to High |
| Tile Roofing | Cracking, chipping | Medium |
Understanding the material on your roof helps set realistic expectations for what kind of repair or replacement you may be looking at after a storm.
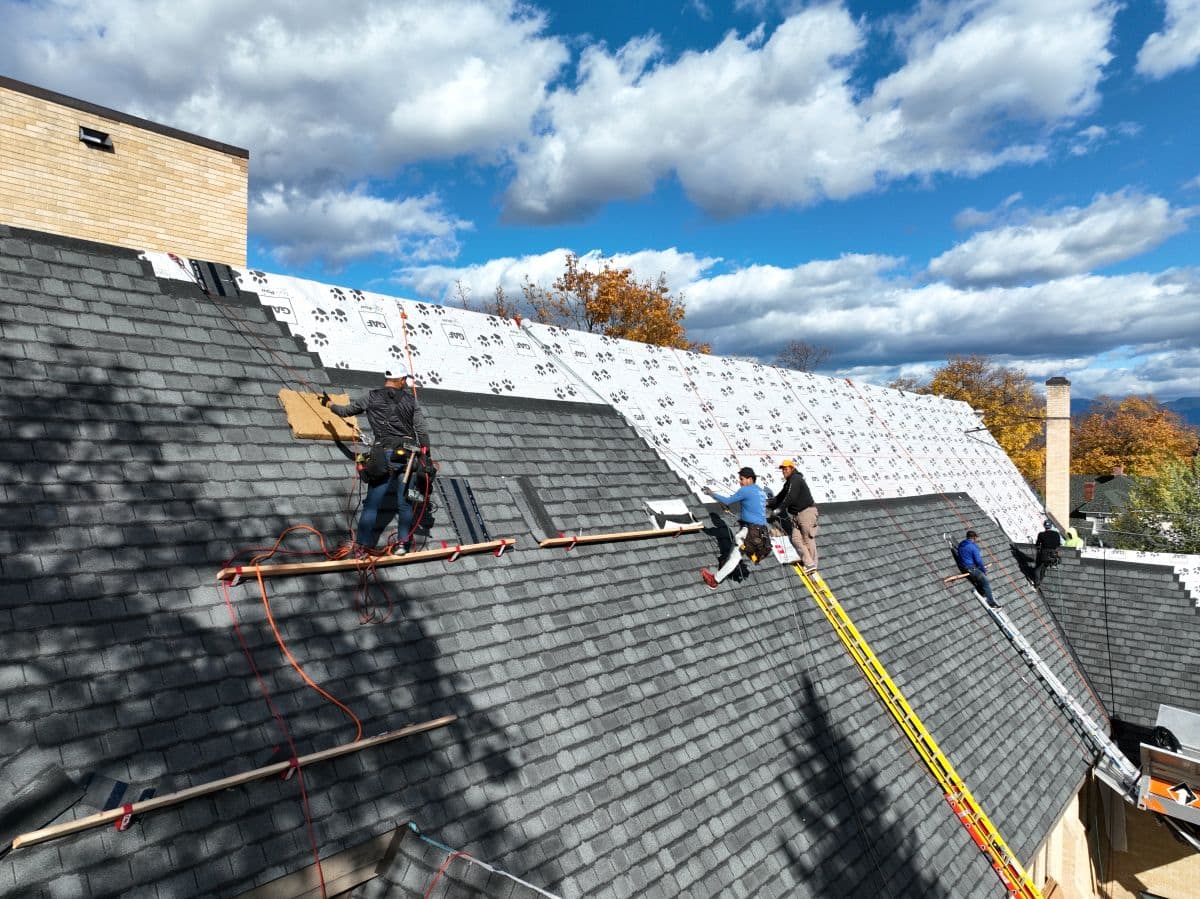
7 Steps to Handle Hail Damage Roof Repair the Right Way
Taking the right steps after a hailstorm can make a significant difference in your repair costs and insurance outcome. Rushing through the process or skipping key steps often leads to denied claims, overlooked damage, and bigger problems down the line.
1. Stay Safe and Wait for the Storm to Pass
Before anything else, wait until conditions are completely safe before going outside to assess your property. Do not attempt to climb onto the roof yourself. Walking on a hail-damaged roof can worsen existing damage and put you at serious personal risk, especially when wet shingles are involved. A professional inspection is the appropriate first step.
2. Document the Date and Storm Details
As soon as the storm passes, note the date, time, and general storm severity. Take photos of any visible damage from the ground, including dented gutters, broken skylights, damaged siding, or debris in your yard. This documentation is valuable when you file an insurance claim. Many insurers require proof that the damage is storm-related and not the result of long-term wear.
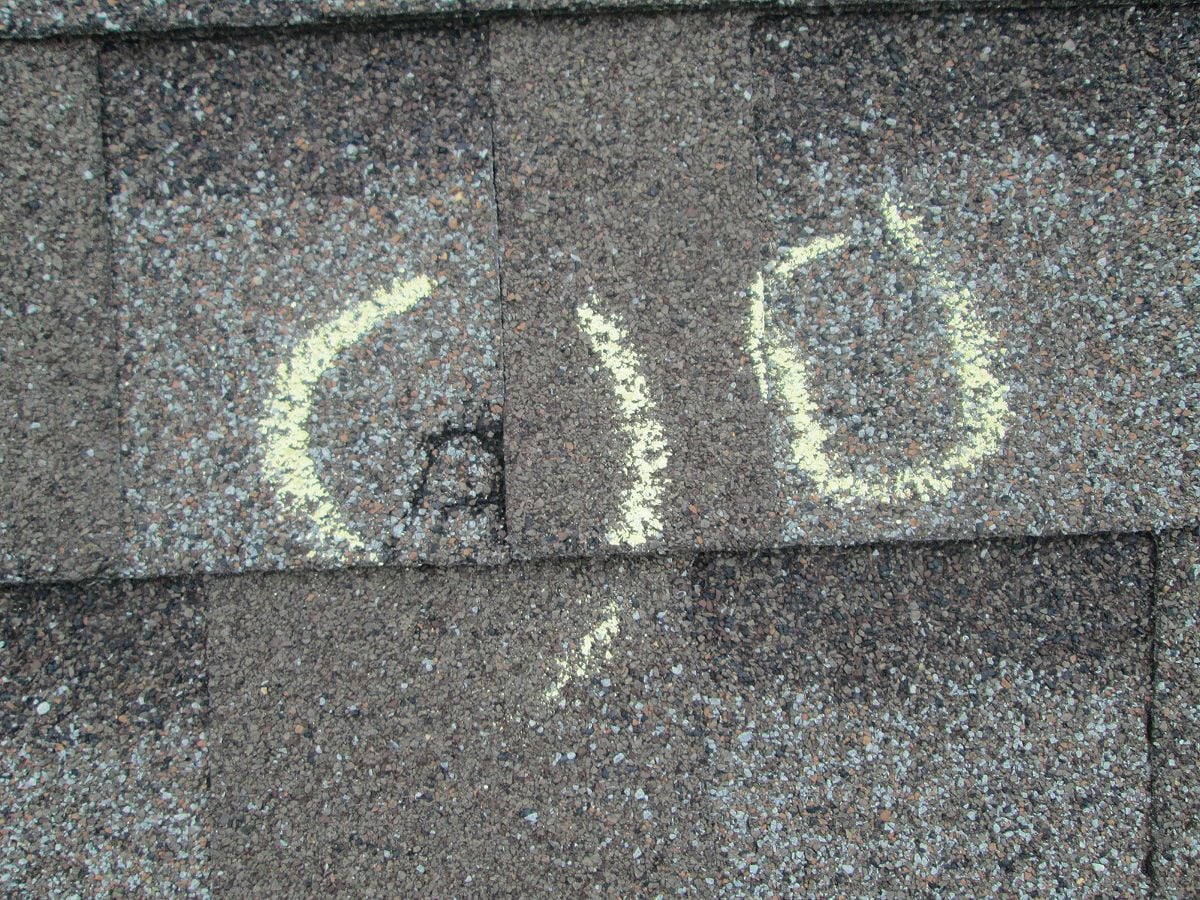
3. Schedule a Professional Roof Inspection
A trained roofing professional can identify hail hits that are nearly invisible to the untrained eye. They know how to look for the soft, bruised spots on asphalt shingles that indicate impact damage beneath the surface. They also inspect flashings, ridge caps, valleys, and vents that are commonly missed during DIY inspections. Hail impact points on asphalt shingles cause granule displacement that accelerates shingle aging by up to 10 years, according to the Insurance Institute for Business & Home Safety.
4. Contact Your Insurance Company
Once you have a professional inspection report in hand, call your homeowner’s insurance company to begin the claims process. Provide the inspection report, your storm documentation, and any photos you collected. Most policies cover hail damage as a covered peril, but the timeline for filing matters. Many insurers have a window of one to two years from the storm date, though it varies by policy.

5. Get a Detailed Repair Estimate
Ask your roofing contractor for a line-item written estimate that specifies materials, labor, and scope of work. This estimate should align with what your insurance adjuster documents during their visit. A reputable contractor will be willing to meet with the adjuster on-site and advocate on your behalf if there are any discrepancies in the assessment.
6. Choose Quality Materials for the Repair
Not all replacement shingles are created equal. If you’re repairing or replacing after hail damage, this is a good opportunity to ask about impact-resistant roofing options. Class 4 impact-resistant shingles are tested to withstand larger hailstones and can even qualify you for a discount on your homeowner’s insurance premium in Montana. Talk to your contractor about what options fit your budget and your climate.
7. Get the Final Work Inspected
Once the repair or replacement is complete, walk through the finished project with your contractor and ask for documentation of all work performed. A good contractor will stand behind their work with a warranty on both labor and materials. Keep all paperwork in a safe place for future reference, especially if you plan to sell your home.
Recognizing Hail Damage Before It Becomes a Bigger Problem
One of the trickiest things about hail damage is that it often doesn’t cause immediate leaks. The damage shows up over the following months or years as the compromised areas of your roof break down further. By the time water is coming in through the ceiling, the repair costs have often multiplied significantly.
Knowing what to look for can help you catch problems early. After any significant storm, a quick walk around your property can reveal telling signs:
- Dented gutters or downspouts: These are among the easiest early indicators of hail impact and give you a sense of how large the hailstones were
- Damaged window screens or sills: Small circular dents or tears in screens often mean your roof took similar hits
- Granules in gutters or downspouts: Excessive granule shedding after a storm is a strong indicator that shingle surfaces were struck
- Cracked or broken skylights: Hail large enough to crack glass has almost certainly affected your shingles as well
- Dented metal vents or flashing: Soft metal components around your roof often show clear impact marks that help document the storm event
Repair vs. Full Replacement: Making the Right Call
Sometimes hail damage is localized enough that a targeted repair is the smart and cost-effective solution. Other times, widespread damage to an already aging roof makes full replacement the better long-term investment. Here’s how to think through the decision:
- Roof age: If your roof is under 10 years old and damage is limited to one section, repair is often the right call
- Damage coverage: If more than 30 percent of your roof’s surface shows significant damage, replacement typically makes more financial sense
- Insurance payout: In many cases, insurance will cover replacement for roofs that are heavily damaged, especially when the system is near end of life
- Future storm risk: Upgrading to impact-resistant materials during a replacement offers better protection against future hail events common in Montana
What to Look for in a Hail Damage Roofing Contractor
Storm damage attracts a lot of out-of-town contractors who show up after a big weather event and disappear just as fast. Protecting yourself from these “storm chasers” is an important part of the repair process, and knowing what separates a trustworthy local roofer from a fly-by-night operation can save you a serious headache.
Verify Licensing, Insurance, and Local References
A legitimate roofing contractor should be fully licensed and insured to work in Montana before they ever set foot on your property. Beyond the paperwork, ask for references from local customers and take the time to follow up on them. A contractor with real roots in the Whitefish area will have a track record you can actually verify, not just a website and a truck.
Know What a Written Contract Should Include
Before any work begins, a reputable contractor will provide a written contract that clearly outlines the scope of work, materials being used, project timeline, and total cost. This protects both parties and gives you a documented record that aligns with your insurance claim. If a contractor is reluctant to put the details in writing, that hesitation tells you something important.
Red Flags to Watch Out For
Not every contractor who knocks on your door after a storm has your best interests in mind. There are a few warning signs that should give you pause:
- Full upfront payment requests: Legitimate contractors typically require a deposit, not the full amount before work starts
- High-pressure tactics: Any contractor pushing you to sign on the spot is prioritizing their timeline, not yours
- Deductible waiver offers: Offering to cover your insurance deductible may sound appealing, but it is often insurance fraud and can create serious legal problems for the homeowner
- No local address or reviews: Storm chasers frequently lack a verifiable local presence and move on once the work rush is over
We’re proud to serve homeowners in Whitefish, MT, and nearby communities with professional hail damage roof repair, full roof replacements, and free storm inspections.


Trust Montana Roofing Solutions After the Storm
When hail hits, the decisions you make in the hours and days that follow have a real impact on the outcome. From scheduling a thorough inspection to navigating your insurance claim and selecting the right repair materials, each step matters. At Montana Roofing Solutions, we’ve helped countless homeowners throughout the Whitefish area work through the storm damage repair process from start to finish.
Our team brings local expertise, transparent communication, and quality craftsmanship to every job. We understand Montana weather, we know what it does to roofs, and we know how to fix it. Contact Montana Roofing Solutions today to schedule your free inspection and get a clear picture of where your roof stands.