
Roof leaks are a nuisance known by an unfortunate number of homeowners. To some, the problem might arise from an error in the installation process, while to others, their roof might have come to the end of its lifespan.
Regardless of the reason, a leak demands immediate roof repair, and like a thorn in your heel, the pain won’t go away without management. Roof repairs vary depending on the type of roof and the nature of the roofing material. Leaks are the most common type of repair for a roof, primarily because they are unavoidable.
A new roof is unlikely to need repair. But, sometimes, you need to search for and repair any curled back shingles or the occasional old shingle. A leaky roof in warm weather might go unnoticed, but with a bit of rain, the water damage extends to the ceiling, rafters, beams, and even the walls.
In some cases, the rogue drops of water might find their way into your favorite clothes or wake you in your sleep when they cover your face. With this annoyance, you’ll probably be Googling “How to patch a roof?” When repairing a roof, there are several steps to follow. The process might seem difficult at times, and on most occasions, it usually is.
The best thing to do is to search for the services of a professional roofer. But, for those do-it-yourself fanatics who want to replace damaged shingles, here are a few golden rules about leaking roofs that work for the most experienced roofing contractor.
Signs That Your Roof Needs To Be Replaced
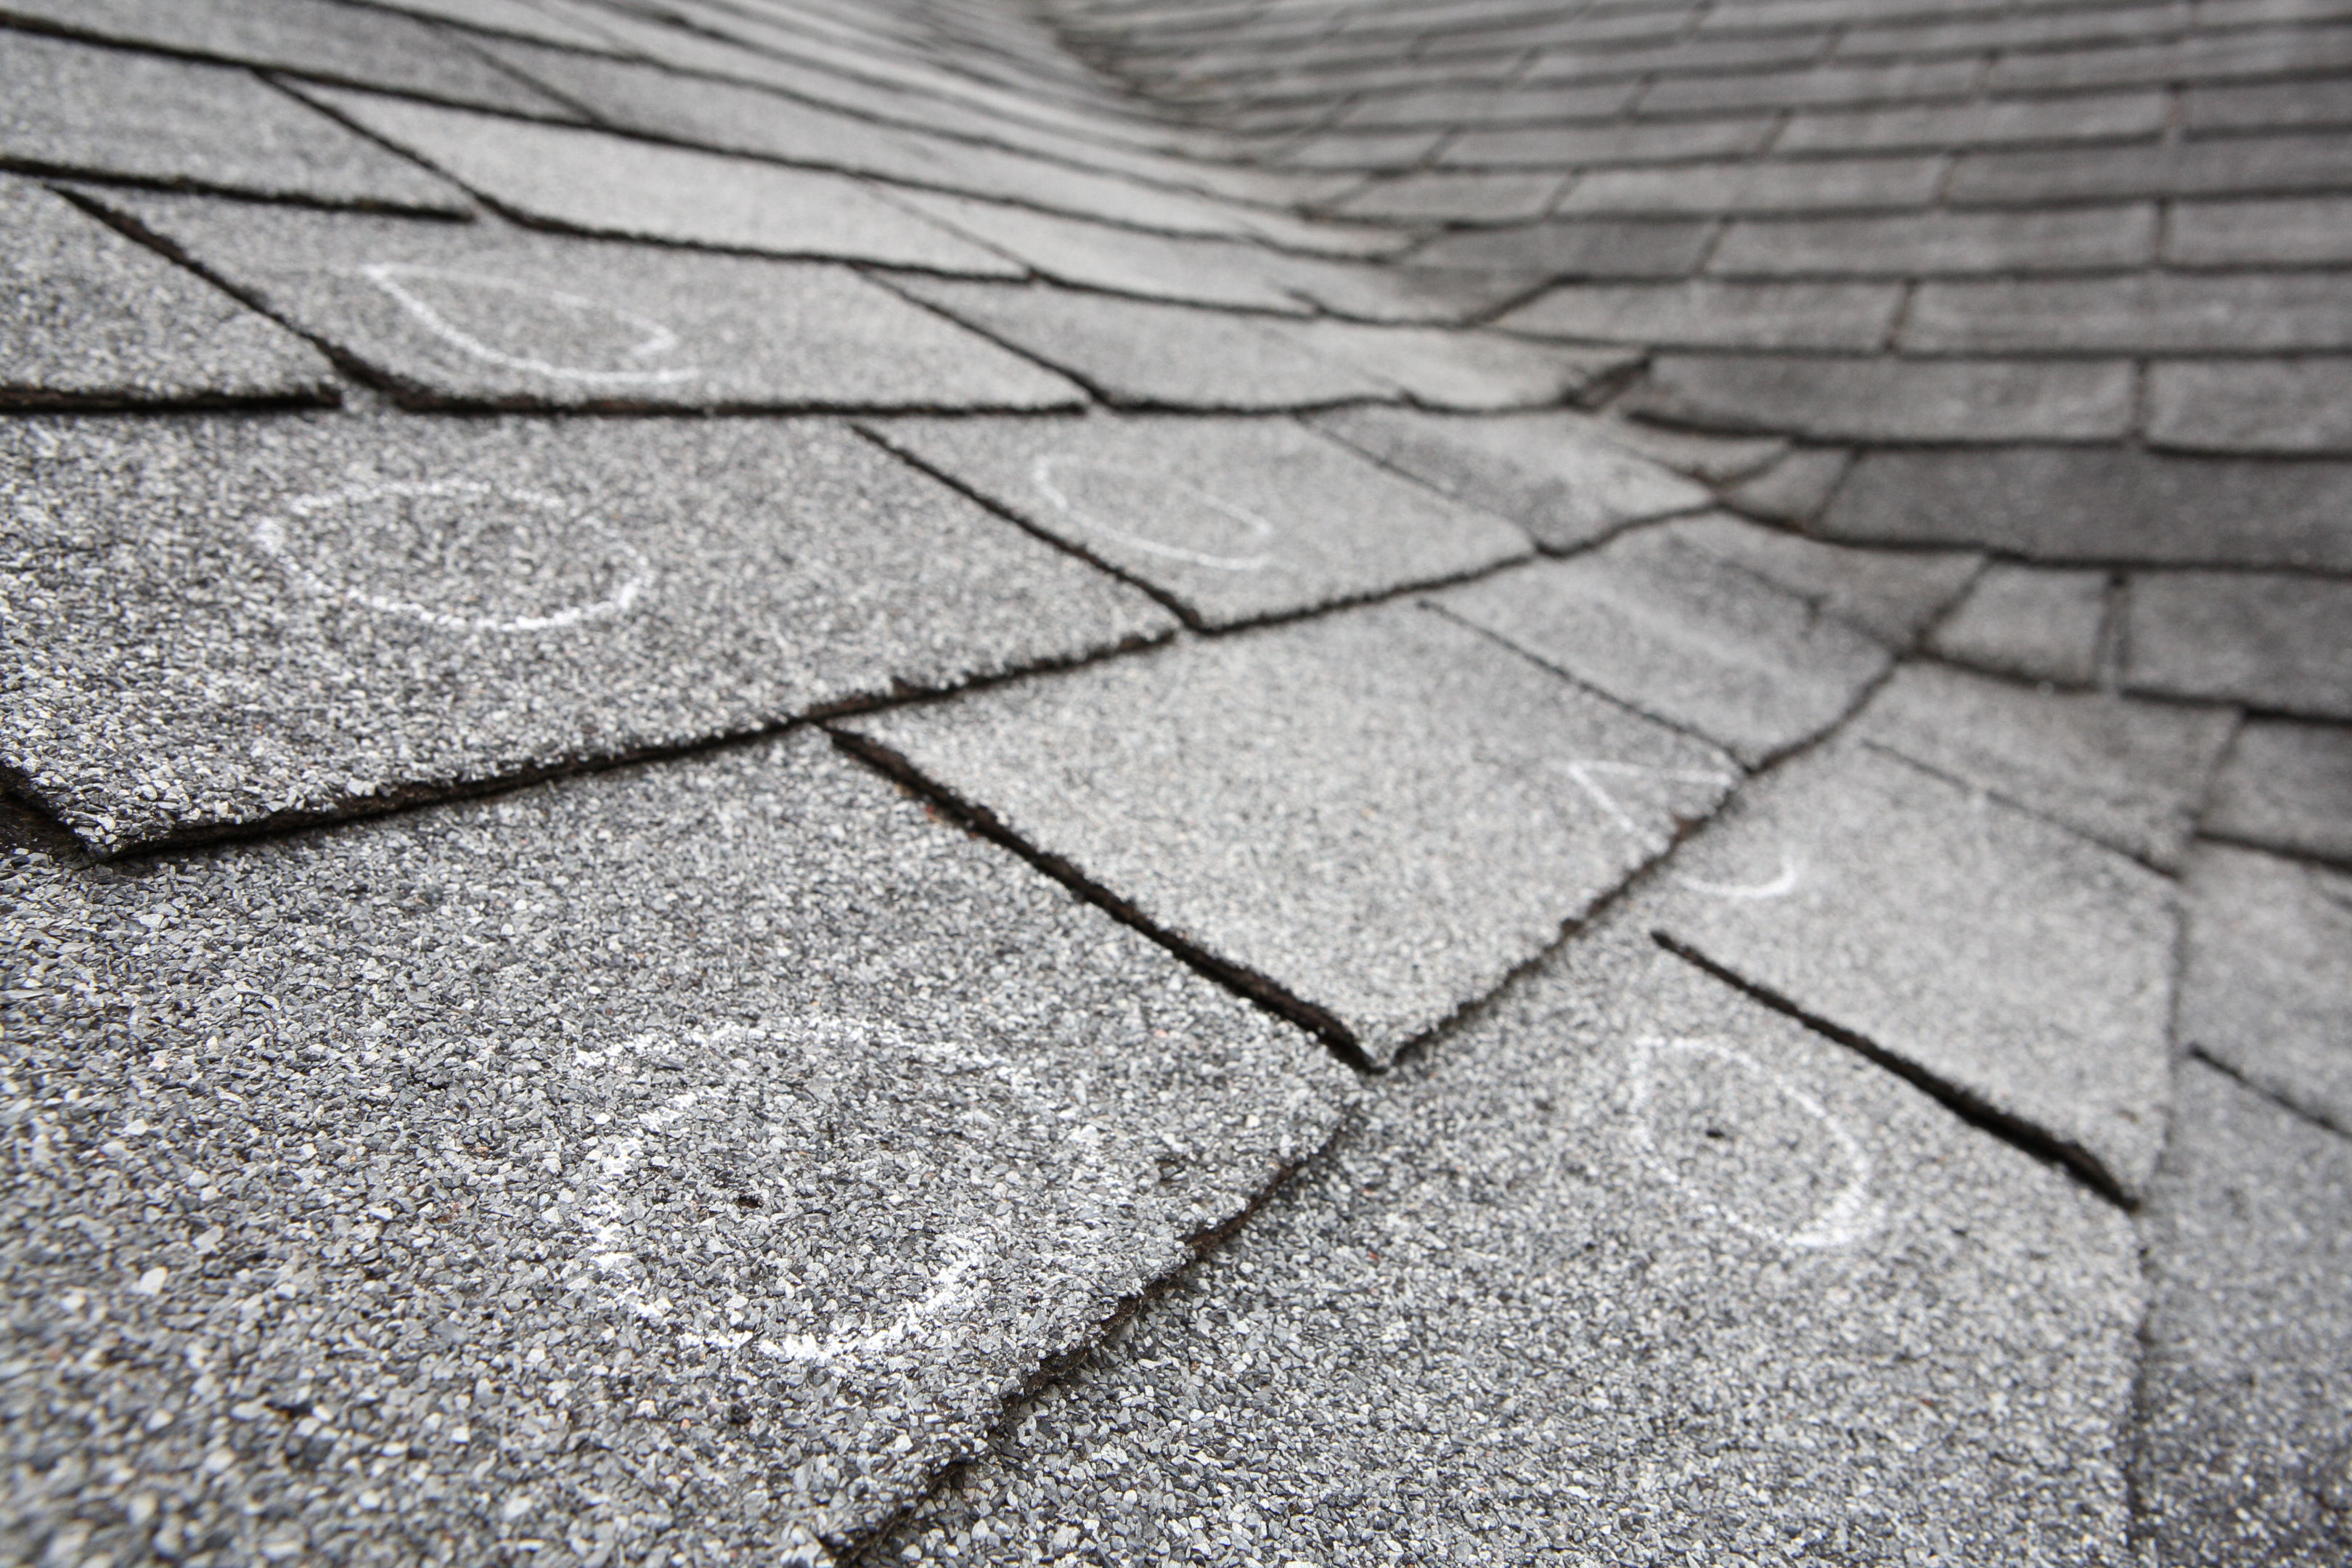
For most professionals, identifying the less obvious signs of a faulty roof is a big piece of the puzzle that is repairing the roof. In houses with an accessible attic, the easiest way to check for a damaged roof would be to observe its underside.
When the leak has been present for a considerable time, access to flora might have begun to develop. Check for algae and mold. You must observe the highest level of safety as mold can cause several respiratory diseases, including asthma.
In addition to the flora, check for shiny lines that usually highlight the path followed by the water as it seeped through the roof. Moist spots on the surrounding area are an apparent sign that there might be leaks in the roof.
How To Identify the Location of a Leak in the Roof
Locating a roof leak might be difficult. Especially with a roof that pitches at an angle. A leaky roof tends to divert water downwards or into the back corners, making finding the leak’s source a nightmare. To find leaks in a pitching roof, follow the dampness. Once you locate a point beyond which no dampness is observed, measure the distance to the closest outside landmark and repeat the process above.
For those pesky leaks that just can’t be found, you should consider climbing up on the roof and checking for the roof leak by spraying the roof with a garden hose. You could have someone on the inside check for the leak and call it out when they see it. Check for watery stains on all surfaces.
The procedure might be the same for most roofs (especially flat), but in addition to the methods mentioned above, you may observe the roof for pools of water and any rotting shingle. Sometimes these may be nothing more than minor issues, but it is better safe than sorry.
How To Patch Your Roof
Once you are done with finding the leak, then comes the heavy lifting. You will most likely have to replace at least one damaged shingle to bring your roof back to good shape. For best results, seek the services of a professional, but when this isn’t an option, here is how to patch your roof.
Assess the Roofing Material
When using highly specific roofing materials such as slate tiles, asphalt shingles, architectural shingles, galvanized steel, or similar roofing material, the best idea would be to leave it to a roofing contractor. But, when repairing a leaky roof with asphalt shingles with minimal damage, repairing the damaged area may be cost-friendly.
Take Out the Damaged Shingles
First, find roof leaks. After locating the leaks and damaged shingles, take out the damaged shingle without damaging the surrounding shingles on the roof sheathing. In case there are missing shingles, skip this step and begin repairs on the damaged shingles.
When removing damaged shingles, curled shingles and any old shingles should also be taken out. Despite them not posing an immediate threat, having your old shingles replaced saves you the cost of repairing another leaky roof shortly. A single shingle and some nails can protect your building from the elements.
The best tools for this step are:
- Putty Knife
- Caulk gun
- Utility Knife
- Roof Sealant, such as Roof Cement
- Pry Bar or Flat Bar
- Roofing Nails
- Favorite type of Rubber Boot
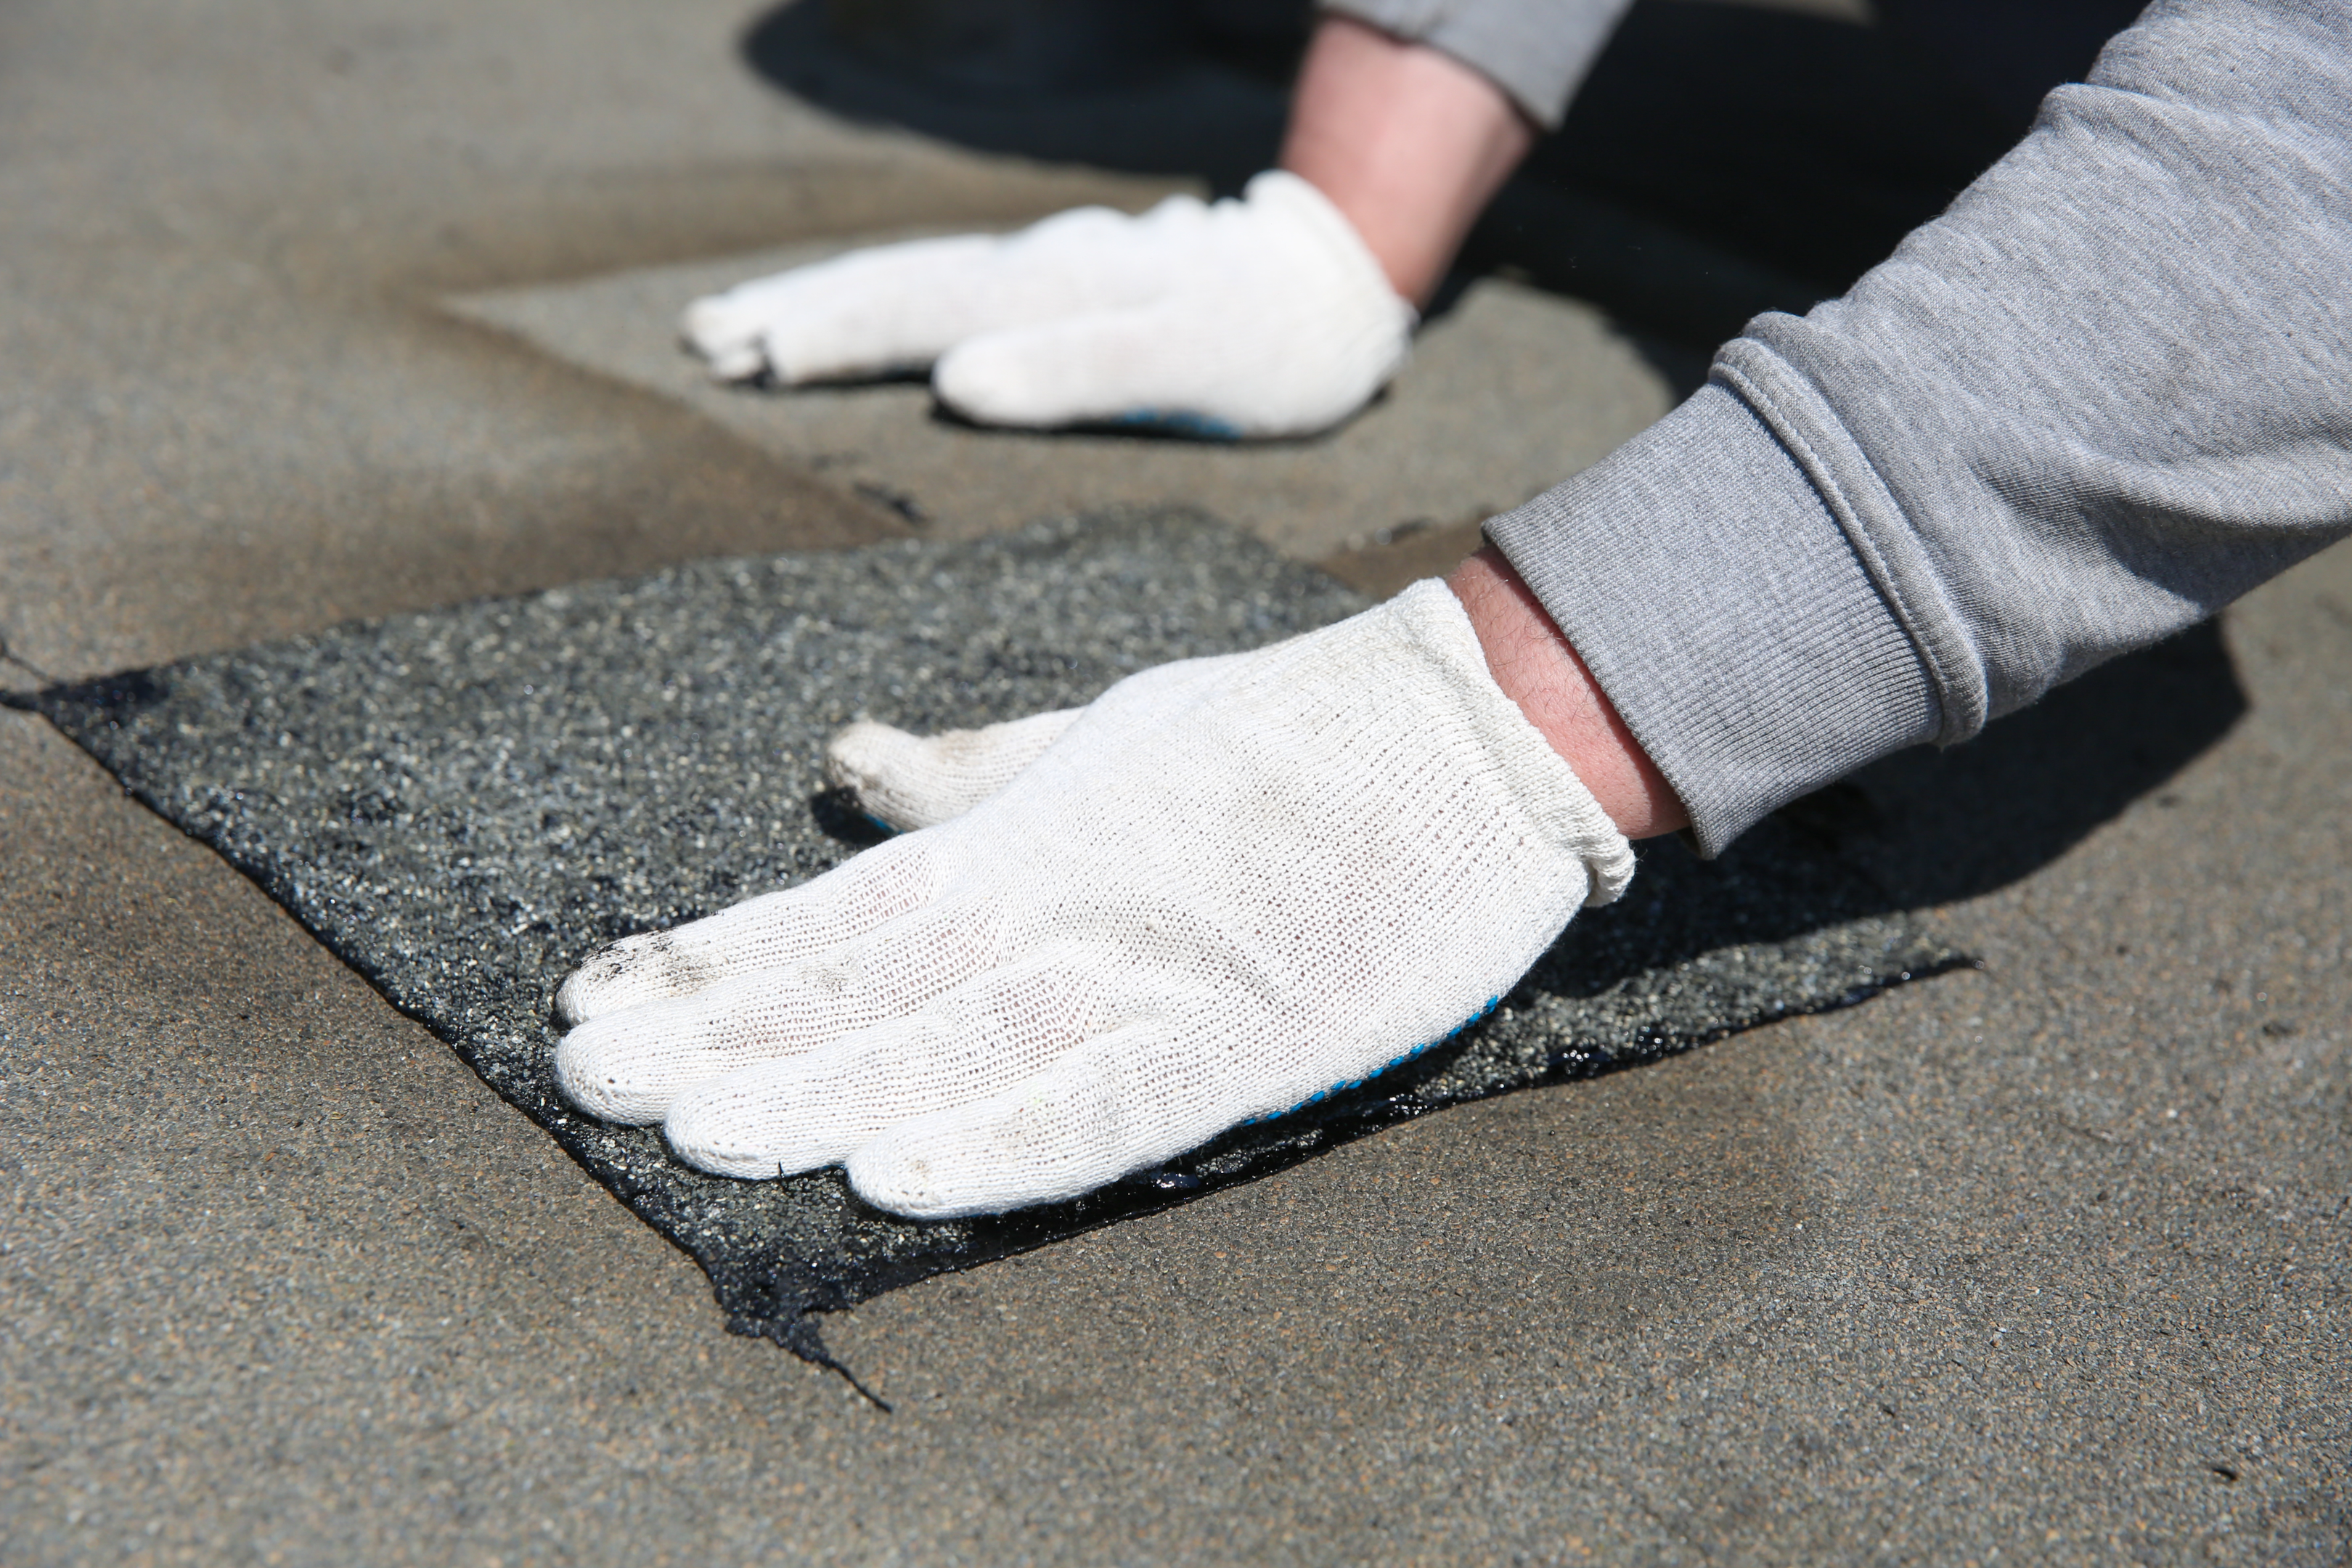
Remove shingles using the pry bar, then nail a new shingle on the leak’s location. Ensure that you cover the nail heads with a generous amount of roof sealant where exposed for good ice and water barrier. Apply step flashing for corners, and repair them with rubber cement and nails to prevent curled shingles on the step flashing. Use quality, extra shingles to prevent further damage like damaged wood or another leaking roof problem.
Take Note of Health Concerns During Repair
If neighboring shingles are affected by rot or mold, it is advisable to take them out too. Remove any stuck nails.
Carrying Out Repairs on the Flashing
Sometimes, the flashing may be damaged. Symmetrical water stains usually will show on the roof or ceiling, possibly damaging the wood. You can repair it or get new flashing to replace the old flashing. The flashing may be made of copper lead or aluminum flashing.
Remove the shingles and siding, apply new flashing, and then proceed to replace the shingles and siding to complete the repairs. Make sure to use a generous amount of roof cement and nails for sturdiness.
Learn About Your Materials
Before the introduction of EPDM high-density fiberboards, flat roofs had a membrane made of tar paper to protect the roof from the elements, but over the years, its use has gradually been minimized.
You will need similar material and roofing cement to repair the roof’s high-density fiberboard membrane. Use nails for underside reinforcement when you replace damaged shingles.
Now you know how to patch a roof, so almost any old shingle can be replaced. Don’t forget the roofing cement!