If you’re wondering how to install roof shingles properly, the process involves more than just nailing down rows of shingles. From prep work to precise alignment, proper shingle installation ensures long-lasting protection, leak prevention, and maximum performance—especially in Montana’s diverse climate.
In this guide, you’ll learn:
- The step-by-step process of how to install roof shingles the right way.
- Tools and materials you’ll need to get started.
- Tips for getting it done efficiently and safely.
Let’s walk through the full installation process and what it takes to do it like a pro.
❗️ Why Proper Shingle Installation Matters
Installing shingles correctly protects more than just the exterior of your home—it defends your investment, your energy efficiency, and your peace of mind.
- Weather protection: Properly installed shingles help prevent leaks, water damage, and ice dams during Montana’s harsh winters and wet springs.
- Roof longevity: A well-installed shingle roof can last 20–30 years with the right materials and care.
- Energy efficiency: Correct installation reduces ventilation issues and helps regulate attic temperatures.
- Warranty compliance: Most manufacturer warranties require installation according to specific guidelines to remain valid.
If you notice problems after installation, our guide on new roof shingles not laying flat explains the most common causes and how to fix them before they turn into costly repairs.
🛠️ Tools and Materials You’ll Need
Before you begin, make sure you have the right tools, safety equipment, and materials to complete the job safely and efficiently.
Tools and Equipment
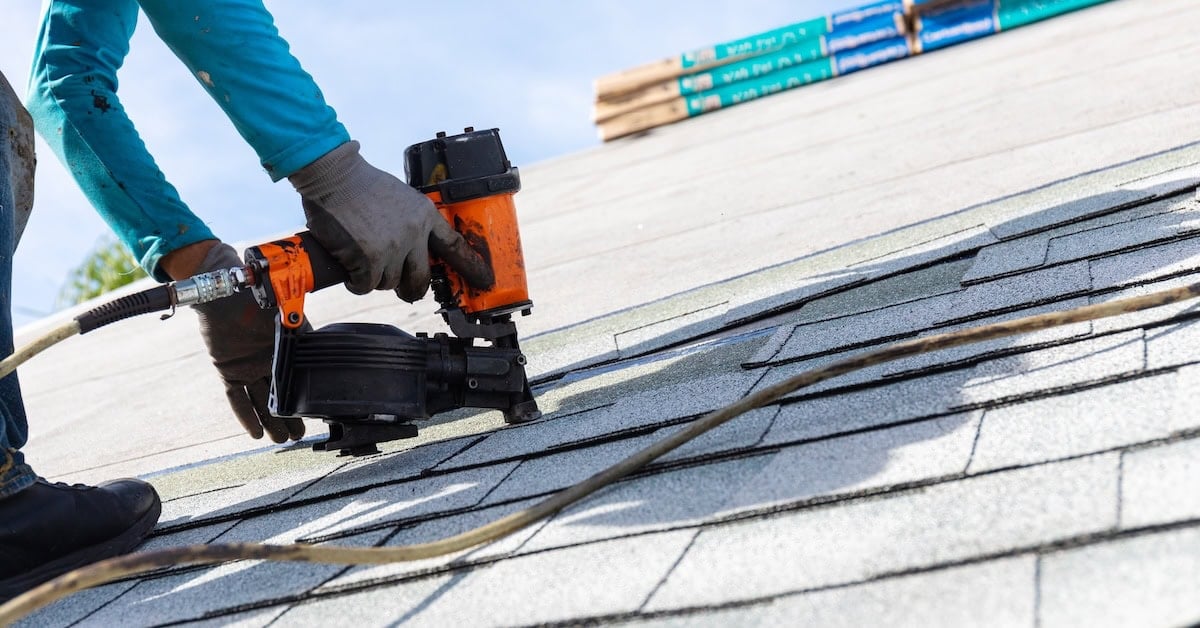
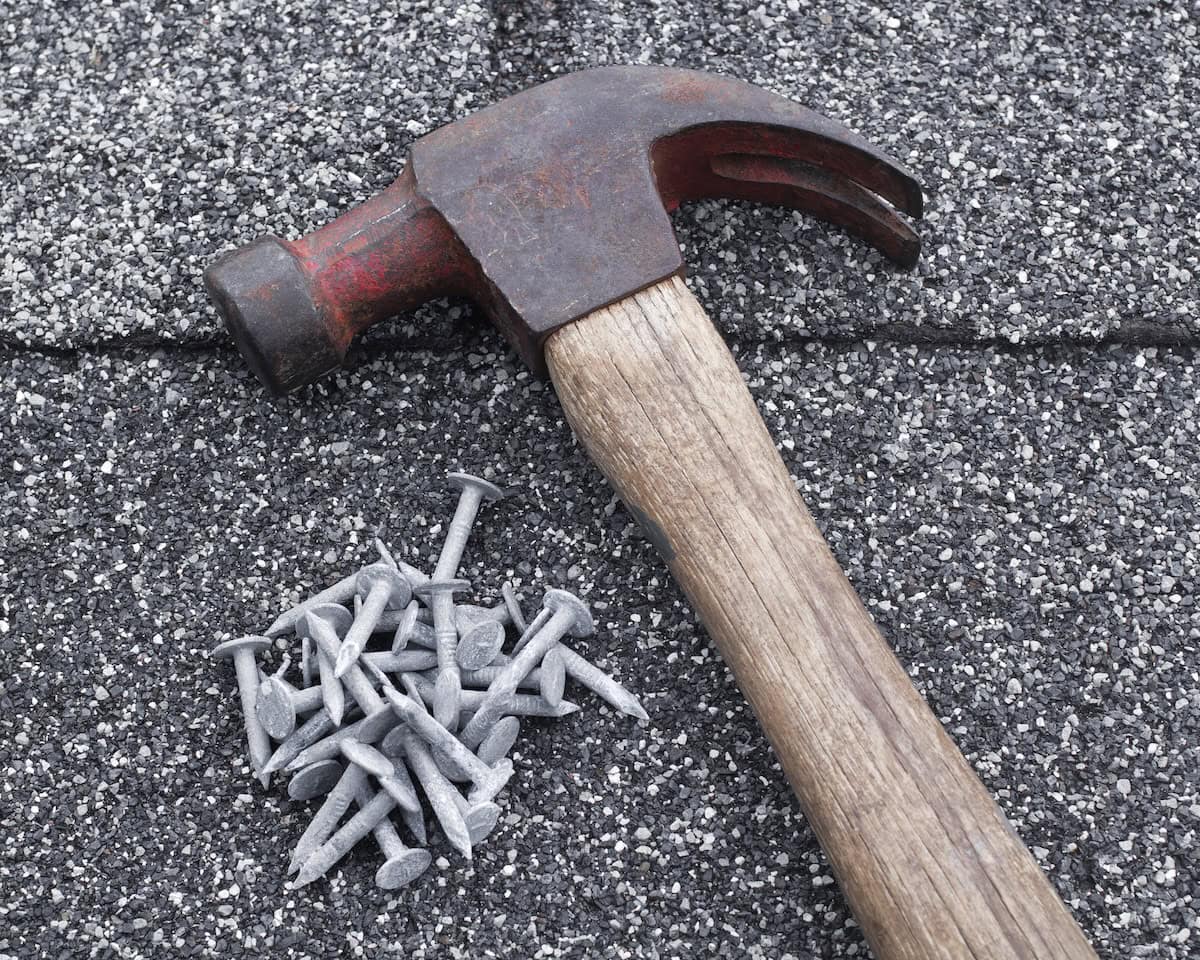
- Roofing nailer or hammer
- Utility knife or hook blade
- Chalk line
- Ladder with stabilizer
- Safety harness and roof brackets
Materials
- Asphalt shingles
- Roofing felt or synthetic underlayment
- Roofing nails (galvanized, corrosion-resistant)
- Ice and water shield (especially near eaves and valleys)
- Starter shingles and ridge cap shingles
- Drip edge flashing
✅ Prepping the Roof Surface
Before laying down the first shingle, prepping the surface is crucial to long-term roof performance.
Remove Old Materials
- Strip off all old shingles, nails, and underlayment to reveal the bare decking.
- Inspect the decking for rot, soft spots, or damage and replace sections as needed.
Install Drip Edge Flashing
- Place metal drip edge along eaves and rake edges to direct water into gutters.
- Secure with roofing nails spaced about 10 inches apart.
Apply Underlayment
- Roll out roofing felt or synthetic underlayment horizontally from eave to ridge.
- Overlap each row by at least 2 inches and fasten according to manufacturer guidelines.

📋 How to Install Roof Shingles in 7 Steps
Follow these steps to ensure proper alignment, water shedding, and wind resistance.
- Install starter shingles: Begin at the bottom edge of the roof. Starter shingles are designed to cover joints between the first full shingle layer and seal the edge to prevent wind uplift.
- Lay the first course of shingles: Align your first row with the starter shingles, following your chalk line. Nail in place just below the adhesive strip using four to six nails per shingle, depending on wind zone.
- Stagger each row: Begin each new row with a shingle offset by about half a tab from the row below. This staggering prevents continuous seams and improves durability.
- Work up the roof: Continue laying rows of shingles from the bottom upward, overlapping each course by the appropriate margin per manufacturer instructions.
- Flash around roof penetrations: Use step flashing for chimneys and sidewalls, and install flashing boots around vents. Secure everything tightly and seal with roofing cement as needed.
- Cap the ridges: Use pre-cut ridge cap shingles or cut standard shingles into thirds. Bend over the ridge line and nail down both sides to seal the peak.
- Clean up and inspect: Remove loose nails, excess materials, and debris from the roof. Check your rows for straightness and proper nail placement.
For a more detailed breakdown of proper techniques, check out our step-by-step guide on how to install ridge cap shingles.
❌ Common Mistakes to Avoid During Installation
Even a well-planned project can go wrong if key details are missed. Watch out for these frequent missteps.
- Underdriven or overdriven nails: Nails driven too shallow won’t hold; nails driven too deep can damage shingles.
- Misaligned rows: Crooked shingles can lead to water pooling and an uneven look.
- Skipping underlayment: Leaving out this moisture barrier increases the risk of leaks and voids manufacturer warranties.
- Improper flashing installation: Flashing errors are one of the top causes of roof leaks and long-term damage.
- Not following nailing zones: Each shingle has a designated area for fasteners—missing it compromises wind resistance.
⭐️ Safety Tips for DIY Roof Work
If you’re doing your own installation or small repairs, safety must be your top priority.
- Use a harness: A safety harness anchored properly can prevent serious injury from falls.
- Install roof brackets: These create flat standing platforms that improve footing and reduce fatigue.
- Work in good weather: Avoid roofing on windy, rainy, or icy days. Shingles are best installed in mild, dry conditions.
- Keep tools organized: Loose nails and tools can be trip hazards. Use a tool belt or magnetic tray to stay tidy.

📞 When to Call a Professional Roofing Contractor
Installing shingles may seem straightforward, but larger or more complex jobs should be handled by a licensed professional.
- Steep or high roofs: Steep slopes or two-story homes require special safety setups and experience.
- Uncertain deck condition: Rotted or damaged decking should be evaluated by a professional before proceeding.
- Storm damage repair: After wind or hail, you may not see all the damage without a professional roof inspection.
- Time-sensitive projects: A professional crew can often install a full roof in one to two days—saving you time and reducing exposure to further damage.
Homeowners looking for expert roof installation or repairs in Kalispell, MT can rely on experienced local contractors who understand Montana’s weather challenges and building standards. If you’re located near Bigfork, MT, working with a local roofing team ensures faster response times and materials suited for the region’s climate.
🤝 Why Montana Roofing Solutions Is Your Trusted Roofing Partner
At Montana Roofing Solutions, we combine craftsmanship with local knowledge to deliver high-quality results—whether you’re installing a new roof, replacing old shingles, or repairing storm damage.
- Reliable guidance: We offer honest assessments, clear timelines, and cost-effective recommendations.
- Trained professionals: Our crews follow manufacturer guidelines and industry best practices for every roof installation.
- Timely roof repairs: We act fast to stop leaks, minimize roof damage, and protect your home from further issues.
- Professional roof inspections: Our team identifies problems early so you can take action before they become costly.
From full shingle installations to storm damage repairs, our team provides expert solutions for homeowners in Lakeside, MT who want durable, long-lasting protection for their homes. We don’t just install roofs—we build peace of mind for Montana homeowners. Contact us today to schedule a free consultation!